Real Estate

Kitchen Improvements Under $100

KitchenImprovblog

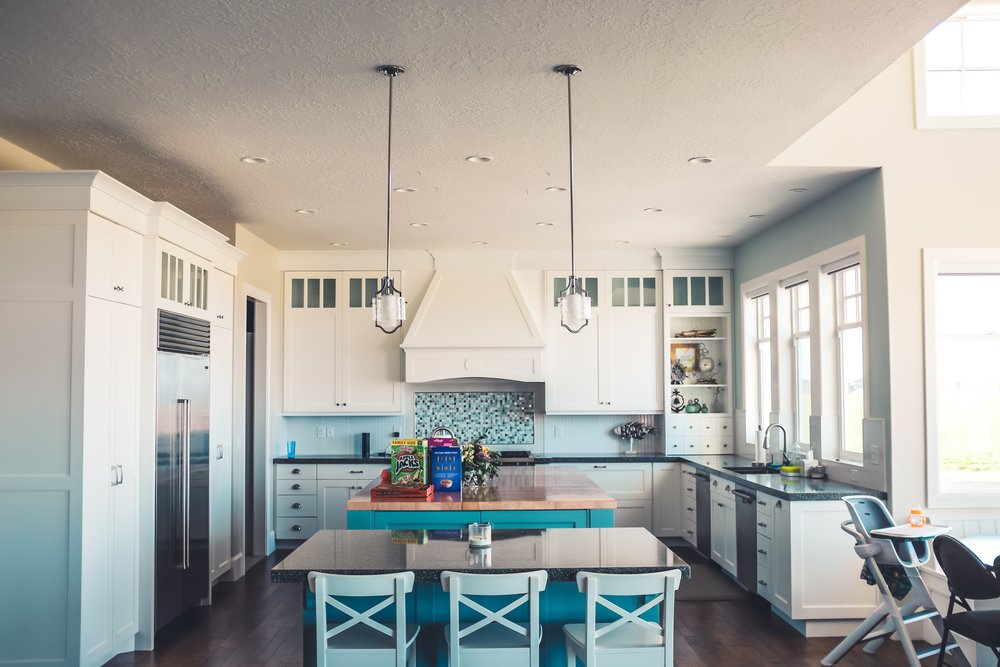
Want to spruce up your kitchen but stuck on a tight budget? Check out the list of improvements you can get started on for under $100. These tips can come in handy when you’re ready to list your home to sell on the market.

1. REFRESH THE SINK:

If your sink is starting to look outdated, find an affordable, yet stylish, replacement. If you have the eye for DIY, you can also purchase some sandpaper and a $4 can of spray paint that is made for metal, and dye it to refresh and brighten the color.

2. HANG A NEW LIGHT FIXTURE

A decorative light fixture doesn’t have to cost an arm and a leg. You can generally find some decent ones that are under $100. Go for a chrome finish or choose the rustic route, whichever suits the current decor in your kitchen. You can also add LED lights under your kitchen cabinets for around $10-$20.

3. PAINT THE CABINETS

With care taken in the prep work, you can refinish the paint on your cabinets. You can generally get a kit around $75. Refreshing the paint color or the stain can make your kitchen feel brand new.

4. TURN YOUR FRIDGE INTO A CHALKBOARD

Chalkboard finishes are a hot trend, especially on the fridge! They add more functionality by allowing home owners to write grocery lists, menus, and even to-dos. Use painters tape to outline the shape and size you want to use as the chalkboard then coat it with magnetic primer, then chalkboard paint.

5. REPLACE OUTLET PLATES

Replace the outdated outlet wall plates for your light switches. You can add some character to it by using bold patterns, bright colors, or elegant textures. If they look faded, yellow, or chipped, they’re a cheap fix to replace.

6. CHANGE HARDWARE

Replacing the hardware on your kitchen cabinets and drawers can provide a drastic change to your kitchen. Not only can you get rid of hideous outdated hardware, but you can add a completely new feel to the theme of your kitchen just by updating the hardware throughout it.

7. EXPAND STORAGE

Have empty wall space? Search your local home stores for cute baskets or storage containers you can use to fill the space. Not only can it add some character to your kitchen, it also adds functionality and more storage options. A feature buyers love if you’re thinking of listing your home.

8. DRESS UP YOUR DECOR

Bring some color to your kitchen. Throw out decor that looks like it belongs in the 90’s, rugs that are falling apart, and anything else that weighs down a fresh look. Add in some new rugs and hand towels that match your personality and the theme you’re trying to achieve. You can also add some plants and decorative pieces to add character.

9. CLEAN UP THE CLUTTER

The best cleaning tip I can give all of my clients is to remove the clutter. Nothing is a bigger eye sore than too many things. It also messes with the energy in a home. Throw out a lot of things that are taking up too much space. If it’s sentimental, see if you can store it in a new place or even donate it.

Jennifer Cote
REALTOR®
512-967-5748
jennifercoteATX.com
Advertisement
Real Estate

10 Home Chores To Do Annually

homechoresblog

Sing me some graces, there is such a thing as over-cleaning! Here are ten chores around the home that you really only need to do annually, minus special circumstances. Let’s dive in!

1. Curtains & Drapes

Unfortunately, we don’t mean the dusting part. You’ll want to dust at least once a month, but when it actually comes time to getting them cleaned, you only really need to do that once a year. You can take them in to get dry cleaned or follow the instructions on their tags if you choose to wash them at home.

2. House Gutters

Gutter guards can be a great investment, especially if you live around trees that shed all year long. These can keep your gutter cleanings minimal, generally about once per year. You’ll want to do this in the autumn when all of the leaves from the trees have already fallen.

3. Fireplace & Chimney

After the winter, you’ll want to give your fireplace a thorough cleaning. You can use a shop vacuum to clean up the embers. Make sure to wash down the fireplace tools as well. Go an extra step further and schedule an appointment with a chimney sweeper.

4. Carpets

We wish we meant vacuuming, but that’s pretty much a weekly or biweekly task for most households. In this case, we mean a deep clean. The best time to get this taken care of is right after summer.

5. Outdoor Furniture

The best time to clean outdoor furniture is when you bring them out of storage for Spring. Of course, if messes up happen while you’re using them, you want to clean the spots right away, so you avoid an accumulation of stains in a short period.

6. Mattress

Mattresses have improved through the years but they still need a little bit of attention. At least once a year, give your mattress a thorough cleaning and change the position of it.

7. Kitchen Cabinets & Pantry

Early November is a great time to clean out kitchen cabinets, drawers, and the food pantry to get them ready for the holidays. Do a section of cabinets at a time and empty them out completely. Wipe down the shelves and reline with shelf paper if needed.

8. Linen Closet

Just once a year, empty out your linen closet and give it a thorough cleaning. Take time to vacuum away dust and spiderwebs and reline any shelves.

9. Garage, Basement, & Attic

No one is expecting you to have a perfect garage, basement, or attic. However, a good cleaning at least once a year can help you keep an eye on things, such as moisture or insect problems. It can also feel good to get rid of junk that tends to accumulate in these hidden spaces.

If you’re in the market to sell your home, you can always give me a call, and I’ll refer over some preferred vendors that can help you knock out your cleaning tasks.

Jennifer Cote
REALTOR®
512-967-5748
Jennifer.Cote@5elementsrealtyteam.com
5elementsrealtyteam.com
Real Estate

Save Your Home From Dryer Fires

Dryer+LRE blog

Every year, more than 2900 home fires are started by clothes dryers. The leading cause of these fires are from a build of up lint from lack of maintenance. The removable lint filter unfortunately doesn’t catch all of the cloth and fabric particles, so maintenance requires a little more than just emptying the filter after each load. Whether you live in your own home or plan to purchase in the near future, it’s important to have safeguards in place for the utilities that you use that could put your home at risk. You want to make sure that the lint that gets trapped in crevices and in the hose on it’s way outside are thoroughly cleaned.

Here are a few warning signs to look for that may indicate your dryer is getting clogged up by lint:

  • Clothes are taking a lot longer to dry, and sometimes not even drying all the way.
  • Clothes may be hotter by the end of the cycle.
  • The outside of the dryer starts to get really hot.
  • The outside exhaust vent flapper isn’t opening much.
  • The laundry room begins to feel really humid.
  • There is a burnt smell in the laundry room.

If this seems to be the case, then you’ll want to evaluate your dryer. The tools you need to clean it are as follows:

  • A vacuum with a long hose attachment.
  • Dryer vent brush kit.
  • Screwdriver
  • UL listed metal foil duct tape

Here are 4 steps to cleaning your dryer:

1. Remove the lint trap filter and make sure it’s completely cleaned off. You want to make sure you’re cleaning the filter after every load to help prevent lint build up.

2. Vacuum the space that houses the lint trap filter. The filter doesn’t capture all of the particles, and this is the second place the lint will begin to accumulate.

3. Disconnect the dryer duct and clean out the duct with a long hose from a vacuum. You can also use a duct brush to help you complete a more thorough job.

4. Make sure the duct is connected properly. You don’t want it cinched in any part of the duct, to prevent crevices where the lint can get stuck.

No one knows the value your home has as much as this real estate pro, keep it protected by taking some simple cautionary steps to keeping everything in running order. And if you’re in need of a brand new laundry room altogether, don’t forget to give me a call.

Jennifer Cote
REALTOR®
512-967-5748
Jennifer.Cote@5elementsrealtyteam.com
5elementsrealtyteam.com
Real Estate

Storage Ideas For Small Bathrooms

storageblog

Is your bathroom small? It’s the worst, isn’t it? Well, unfortunately, small bathrooms are very common, and are usually the smallest rooms in the house. I can almost bet that it almost always feels cramped and tight in there. Although the square footage doesn’t change, a change of organization and storage space can make a drastic change to how your bathroom feels. Here are a few tips and tricks to make your bathroom space feel more functional and spacious.

  •  Medicine Cabinet
    If you have a regular mirror, replacing it with one that includes a medicine cabinet and provide further storage space.
  • Shelving
    If you have free space above your toilet, vanity, or other another empty part of the wall, install shelving units. Purchase a few decorative baskets to maximize shelf space.
  • Hooks
    With a few decorative hooks, in a style of your preference, you can declutter by placing a couple on the back of the door to hang towels or robes. Perhaps one or two right next to each end of the shelving unit you just installed.
  • Towel Racks 
    A rack installed inside of you shower can save you space and convenience, also adding an additional shower bar above the original will work nicely. Another idea is installing a few racks a couple of feet above each other or right next on another. If you have an excessive amount of towels, store some of them away in the bedroom closet.
  • Vanity with Cabinet
    I have come across plenty of pedestal sinks in small bathrooms, but if you want save some space, add some storage, and upgrade the look of your bathroom at the same time, a vanity cabinet will definitely do the trick.

    Jennifer Cote
    REALTOR®
    512-967-5748
    Jennifer.Cote@5elementsrealtyteam.com
    5elementsrealtyteam.com